
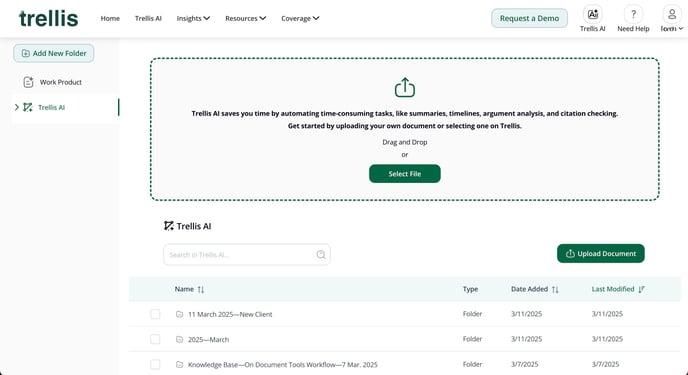
Step 1. Click on the Trellis AI icon located at the top right side of the screen. You will be greeted with the screen below:
Note: Case Assessment, Case Strategy Report, and Draft Argument cannot be accessed through the file upload section here. For access to those docket tools, use either the docket for your case or a previously saved docket in your work space.
Step 2. At the very center of the screen is the File upload section. Once a document is uploaded here, you will have the option to either save the uploaded document to a currently existing file in the AI workspace, or create a new file.


Step 3. Arriving at the On-Document Tools workspace. Here, your document will appear in the left-side panel. Your finished work product will appear on the right.

Step 4. From one of the four categories for analysis appearing above your document, select the tool you need to begin your work flow.


Step 5. As with docket tools, once you have made your selection, you will be notified of the generation of your report and free to navigate away from the page, as shown below in the right panel:

Step 6. Notification of your finished work product: as with all tools, you will receive notification of your finish work product via a banner on the top right side of your screen alerting you to the presence of the work product in your folder. If you have remained on the screen, note that your work product will appear in the right side panel as pictured below.
